DNS records setup with Cloudflare
updated 2 years ago
If you use Cloudflare as your domain name registrar and DNS provider, here is how to add the DNS records generated by Engage when you configure your custom domain for email sending.
Log in to your Cloudflare account.
Click on the domain name you want to update the records for (i.e, the domain you have connected to Engage)
Click on DNS in the side navigation bar and select Records from the dropdown option.
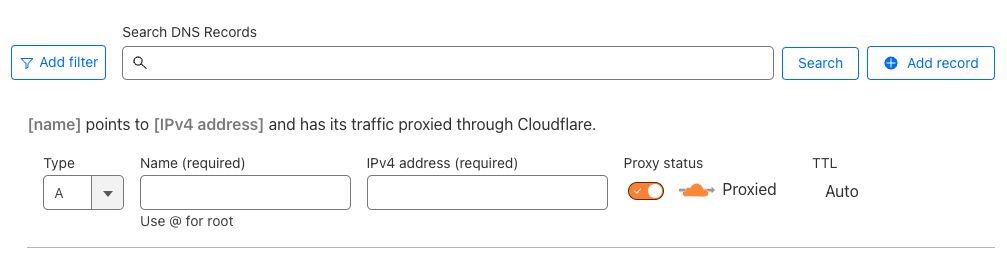
Select TXT from the Type dropdown. (You will need to repeat the following steps for the 5 DNS records generated by Engage. We will start with the first TXT record but the order doesn’t really matter as long as all the records are added).
In the Name field, enter the Hostname provided by Engage. This will be available on your Engage dashboard and/or emailed to you. This should look something like this: emXX (where XX is a set of random numbers and alphabets). Don’t use the full form e.g
emXX.yoursite.coIn the Content field, enter the value provided by Engage. This should be:
v=spf1 include:mailgun.org ~allClick on Save.
Repeat the step for the next TXT record. In the Name field, enter the hostname provided by Engage. This should look something like this:
smtp._domainkey.emXXIn the Content field, add the value provided by Engage. This should be a long text that starts with
k=rsa.Click on Save.
Next, add a CNAME type.
Under Name, enter the hostname from Engage. It should look similar to this:
email.emXXIn the Target field, add the value provided by Engage. This should be
mailgun.orgClick on Save.
Next, add the first MX record by selecting the MX type.
In the Name field, enter the hostname provided by Engage. This should look something like this: emXX
In the Mail Server field, enter the value provided by Engage. This should be
mxa.mailgun.orgIn the Priority field, enter 10.
Click on Save.
Repeat for the second MX record. This time, the Mail Server field value should be
mxb.mailgun.org. Set Priority to 10 and Save.Your DNS records should now be completely updated.
Wait for a few minutes and go to your Engage dashboard. Click on Verify Domain under the verification warning. Sometimes, it may take a few hours before the propagation is complete so don’t worry if it doesn’t work immediately. If after 24 hours it’s yet to be verified, please send us an email to hello @ engage.so
Was this article helpful?