How to set an Automation Goal
updated 2 years ago
In this article:
Sometimes when you create an Automation, there is an objective you want to achieve with the Automation. You can use Goal in Automation to track this objective to know how well your Automation is performing.
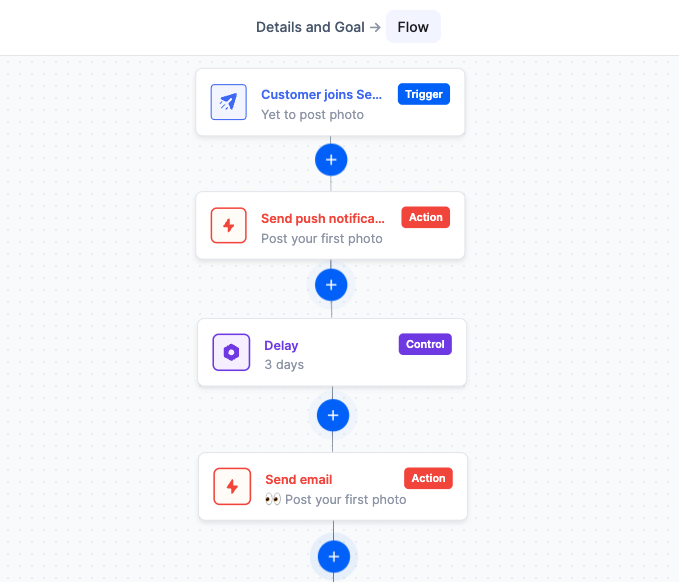
Let’s imagine we have a photo-sharing application. When people sign up, we want to nudge them to post their first picture if they haven’t done that after 3 days. We can create an Automation to do this.
For this, we need to track the event “Posted photo” every time users make a post. (See How to track events). We also recommend tracking "Signup" events, however, Engage automatically adds a standard attribute, “signup date” to user profiles. We can use these data to create a Segment for users who signed up more than 3 days ago but are yet to add a photo.
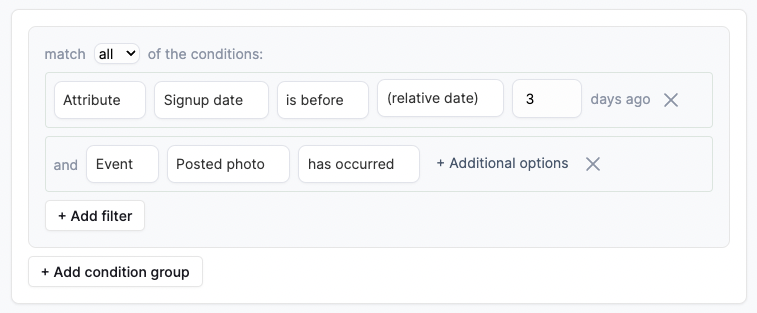
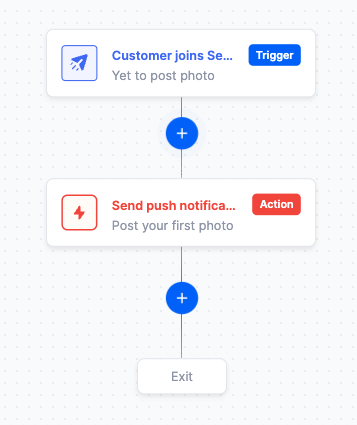
Using the Segment, we can then trigger an Automation to send a nudge to users.
While this works, it is difficult to know how many users we were able to convert with the Automation, i.e. how many users posted a photo when they got the nudge. This is where the Goal comes in.
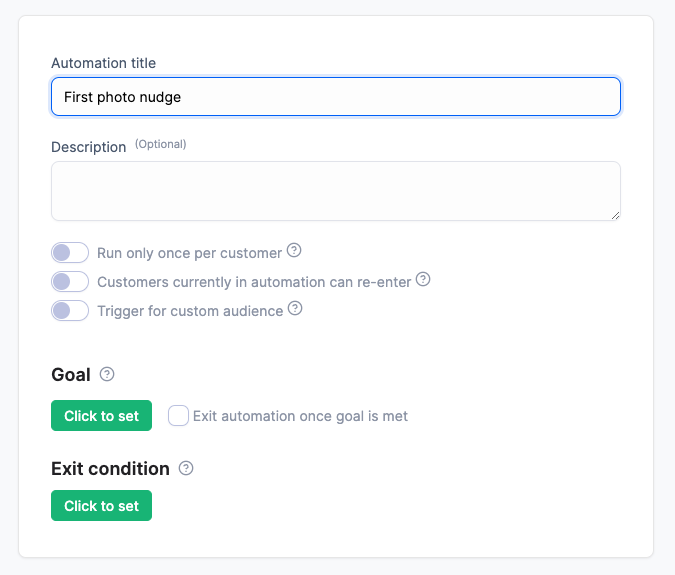
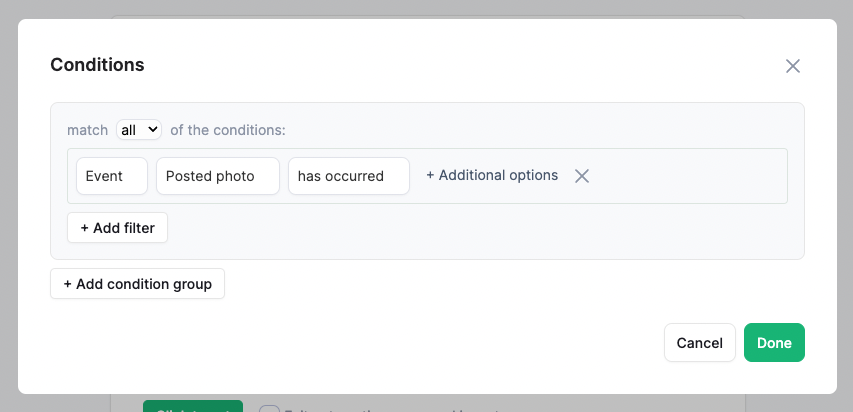
When you set an Automation Goal, you simply specify the conditions you want met before the Automation can be said to have converted. In this case, the condition is that the user should have posted a photo. So let’s set that.
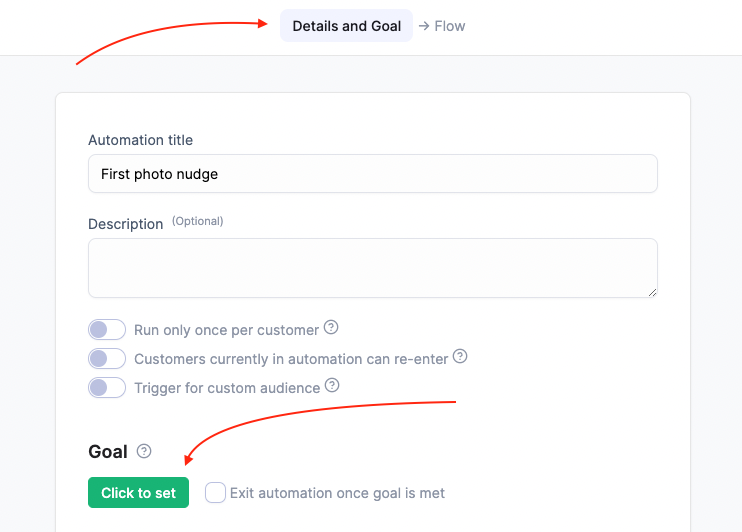
In the “Details and Goal” tab, click on the “Click to set” button under “Goal”. We then set the objective we want to achieve – "Posted photo" has occurred.
Adding a delay
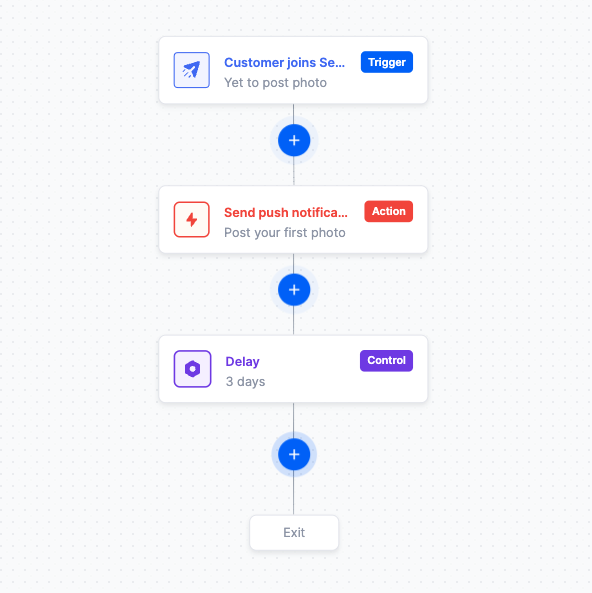
There is a small issue with our Automation. It works, but the goals would not be properly tracked because there is no delay in the Automation. The push notification is sent immediately after the user is added to the Segment and the Automation terminates immediately after. The user may not take an action immediately and because the Automation has terminated before an action was taken, there is no way the Automation can track the objective.
We need to add a delay to allow enough time for users to convert before terminating the automation. The exact period of delay will be totally up to you.
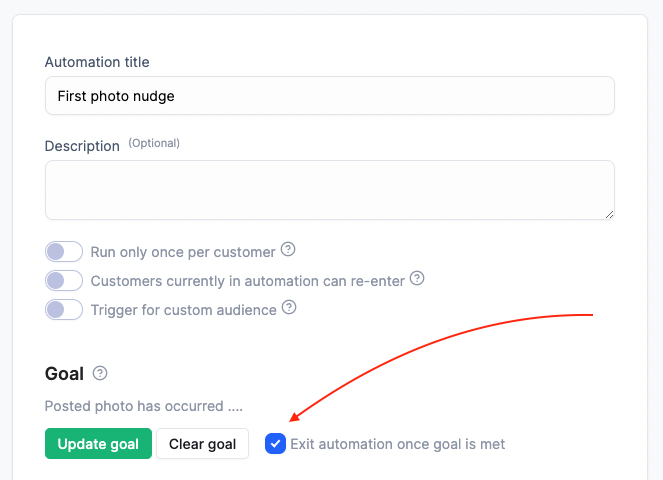
Exiting when the goal is met
You can exit an Automation when the goal is met. To do this, check “Exit Automation once goal is met”.
This is extremely useful when you have multiple message stages in your Automation. Ideally, before you send the next message in the sequence, you would want to confirm the user hasn’t posted a photo. This can lead to many if/else paths.
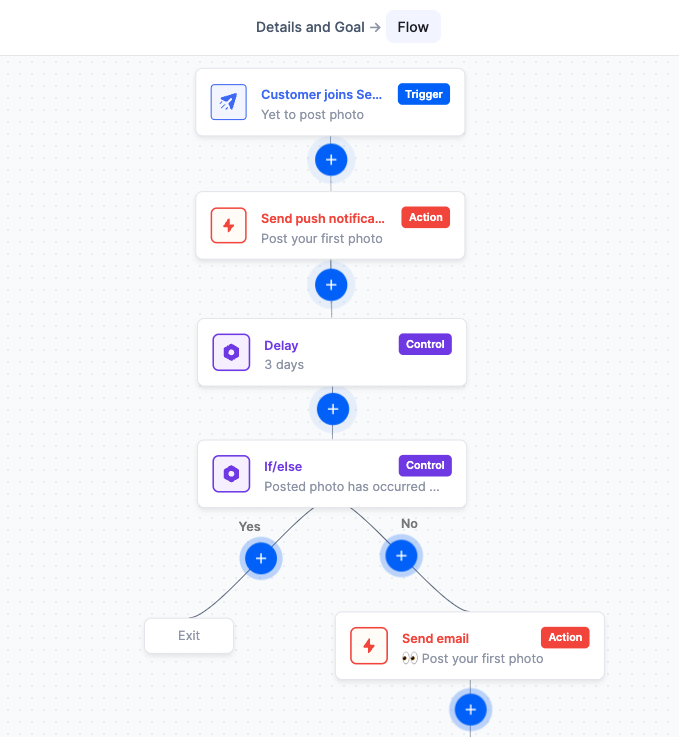
By exiting when the goal is met, you do not need to check if the user has posted a photo and create multiple if/else paths. You can create a single sequence because once they post a photo, the Automation will be exited and they won’t get any further messages.
Was this article helpful?