Amazon SES
updated 2 years ago
In this article:
If you do not want to use Engage as your default Email Service Provider (ESP), you can connect your Amazon SES account and select a domain from your SES account instead. This means all your outgoing emails from Engage will be sent through the Amazon SES account. Analytics and reporting for emails sent outside Engage (transactional emails sent through your product for example) will also be available on the Engage dashboard. You will be able to track email deliveries, opens, clicks, bounces, and more.
Prerequisite
Engage needs access to two Amazon services - SES and SNS. SES is used to send transactional emails, broadcasts, and Automation emails. SNS is used to get email events like delivery status, opens, clicks, and failures.
If you already have an IAM user with full access to both SES and SNS, you can use its access keys to connect your domain to Engage. However, we recommend you create a new user with a new access key so it’s easy to manage and remove at any time.
How to create a new user and access key
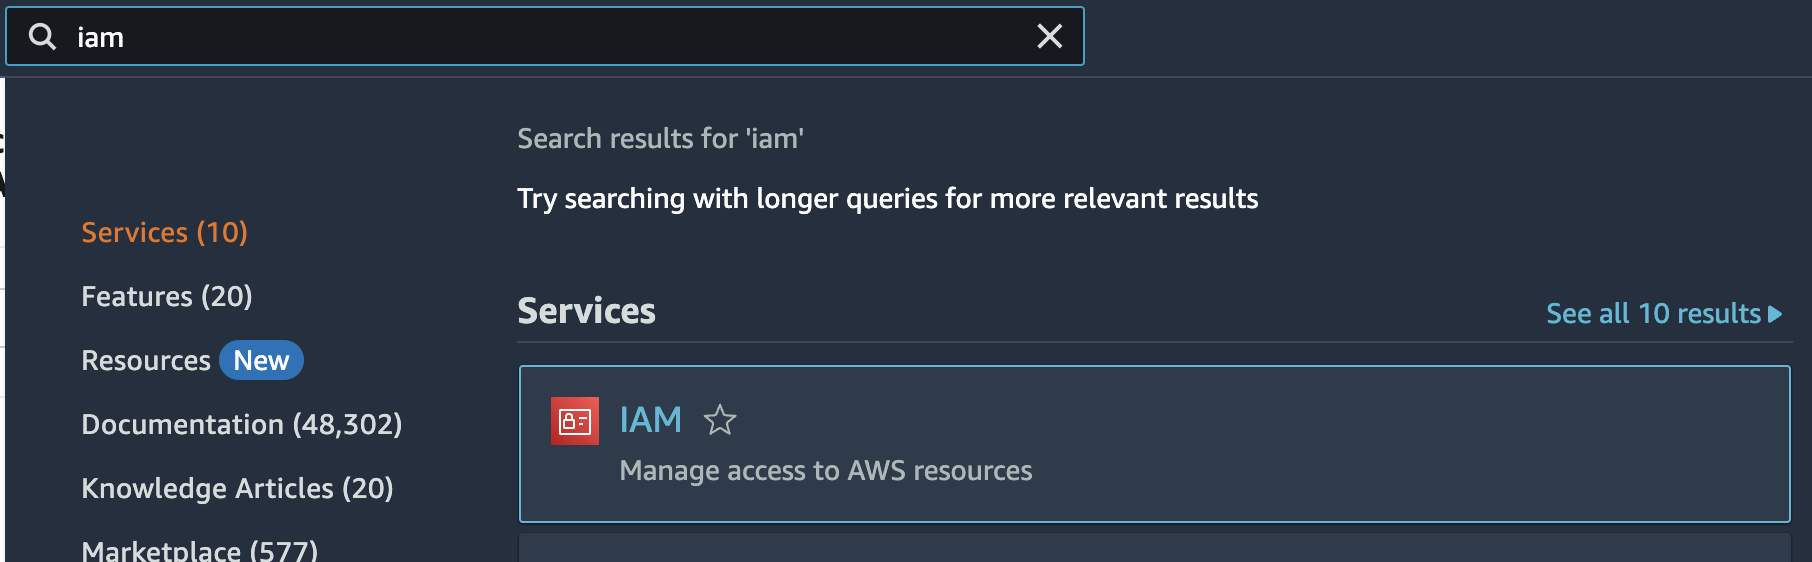
Log in to your AWS account and visit the IAM service. You can search for IAM in the service search bar.
Click on Users in the left side navigation. On the Users page, click the Create new user button.

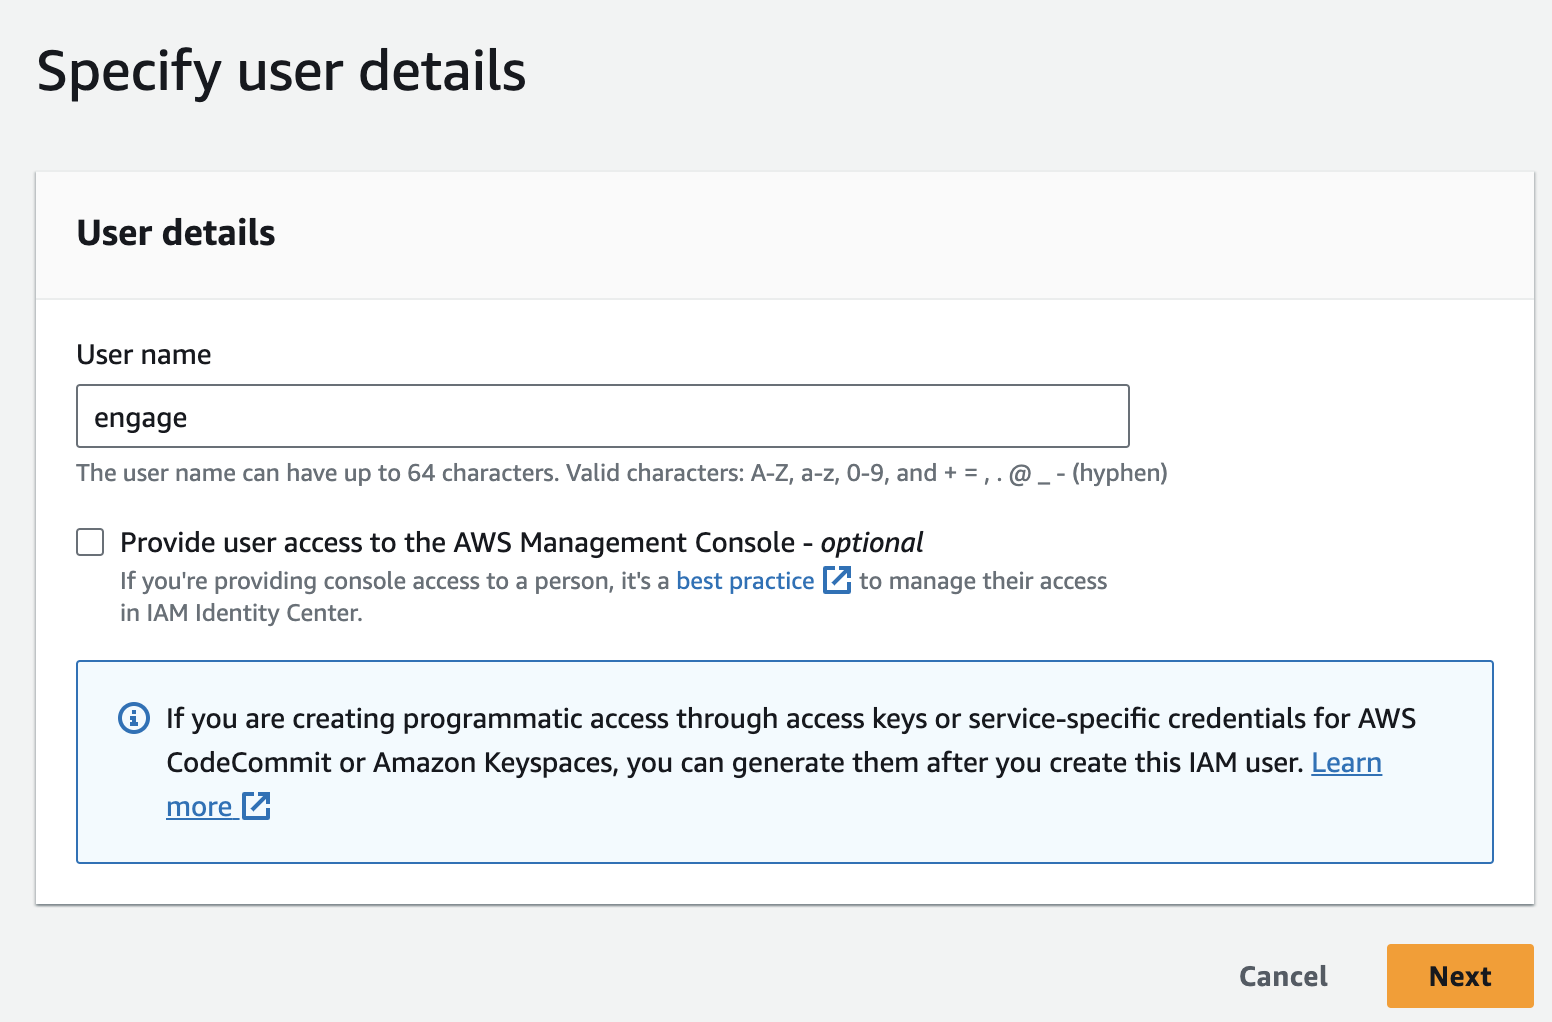
Enter the user name. You can use engage or an easy-to-identify username of your choice. Leave the “Provide user access to the AWS Management Console” option unselected. Click the Next button.
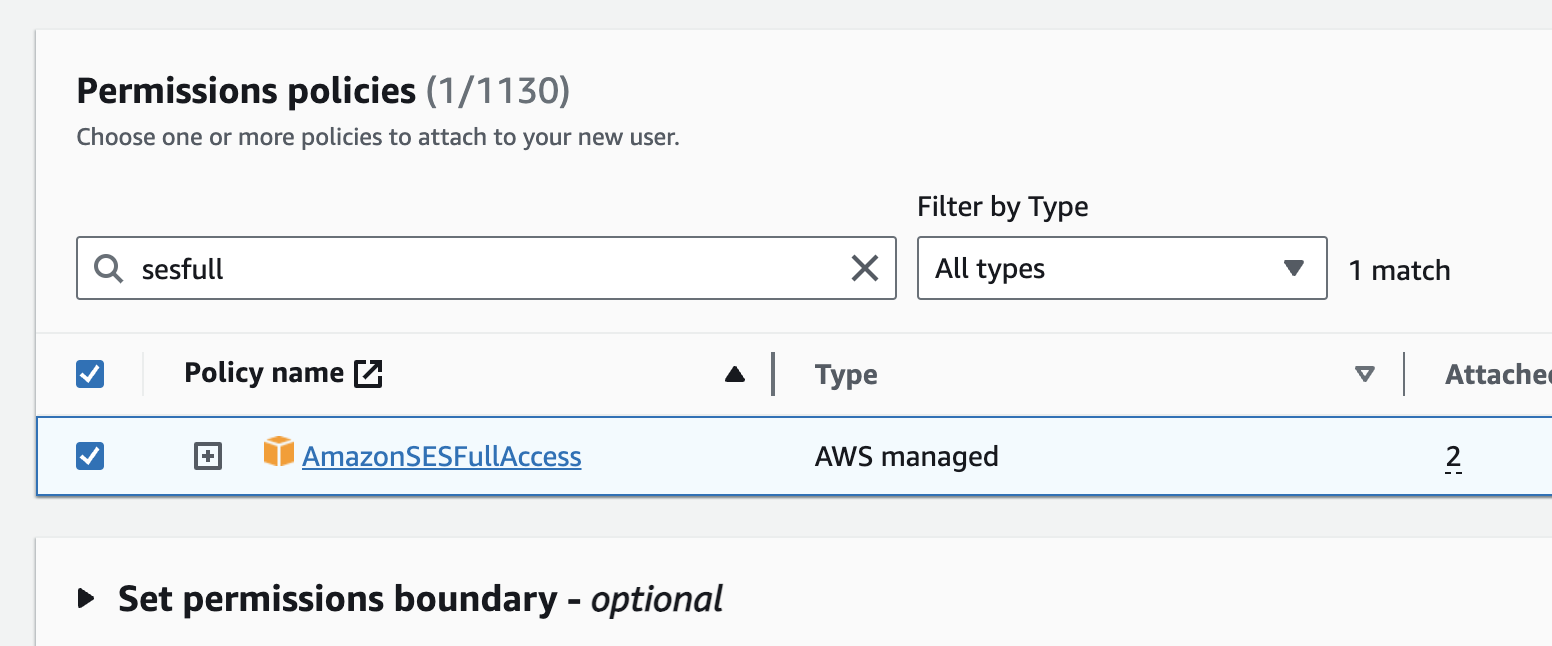
Next, you need to grant SES and SNS access to the user. Search for "SESFull" in the Permissions Policies search bar. You should see AmazonSESFullAccess policy in the filtered result. Select it.
Using the same Permissions Policies search bar, search for "SNSFull”. You should see AmazonSNSFullAccess policy in the filtered result. Select it. Click on the Next button.
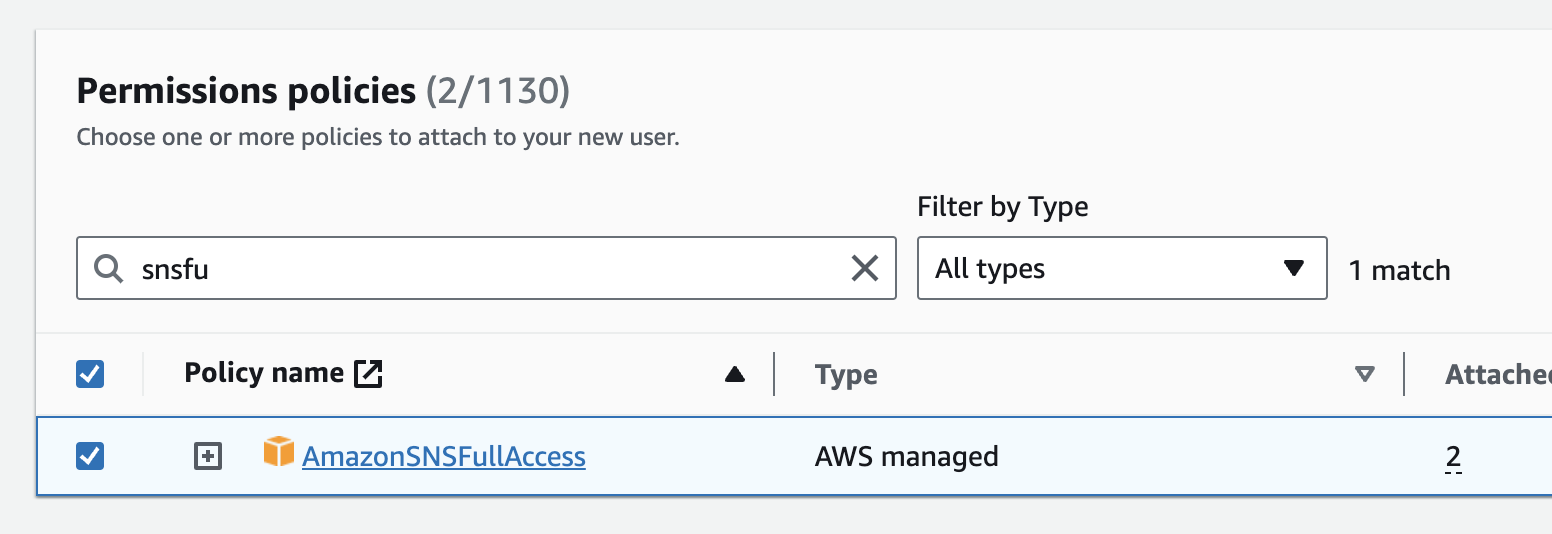
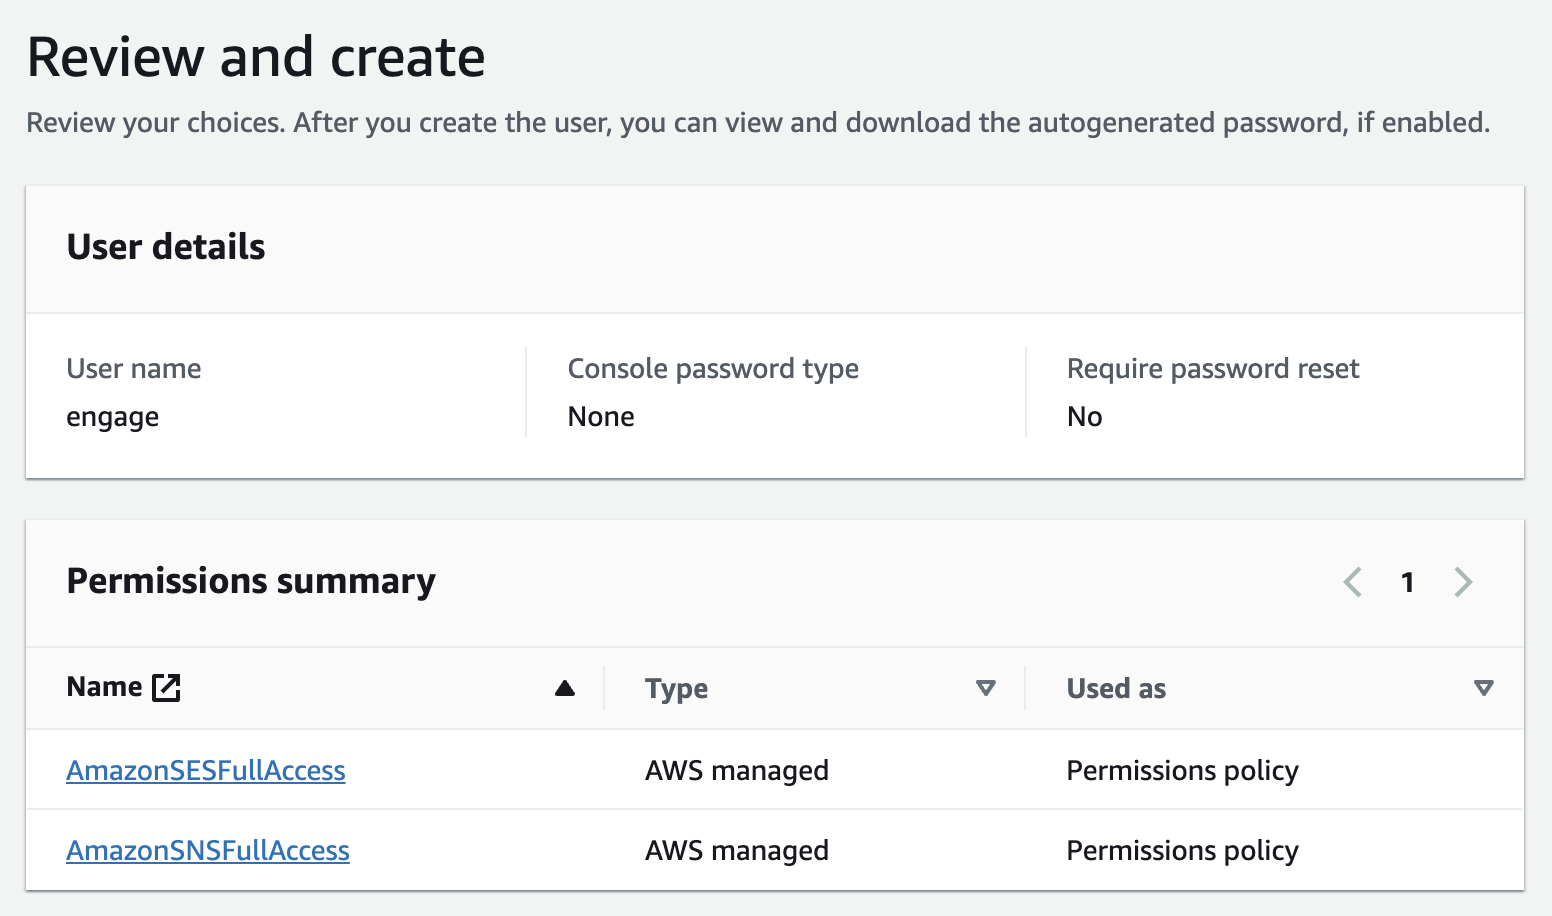
On the review page, the two permissions AmazonSESFullAccess and AmazonSNSFullAccess should be listed under Permissions summary. Complete the process.
Now that we have created a user with the needed permissions, we need to create an access key.
Click on the newly created user to visit the user page.
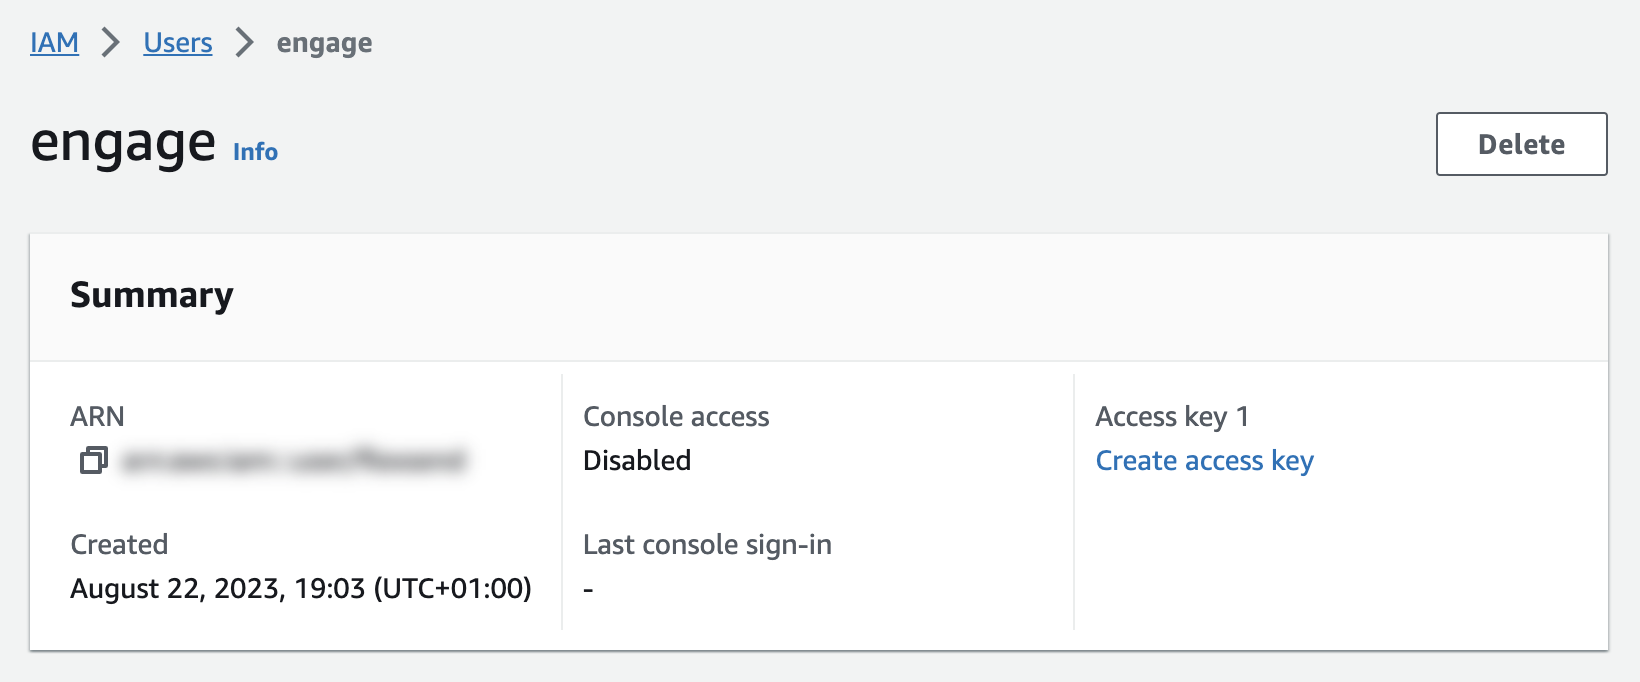
Click on the Create access key link.
When asked what type of access key you want to create, select Third-party service and create the access key.
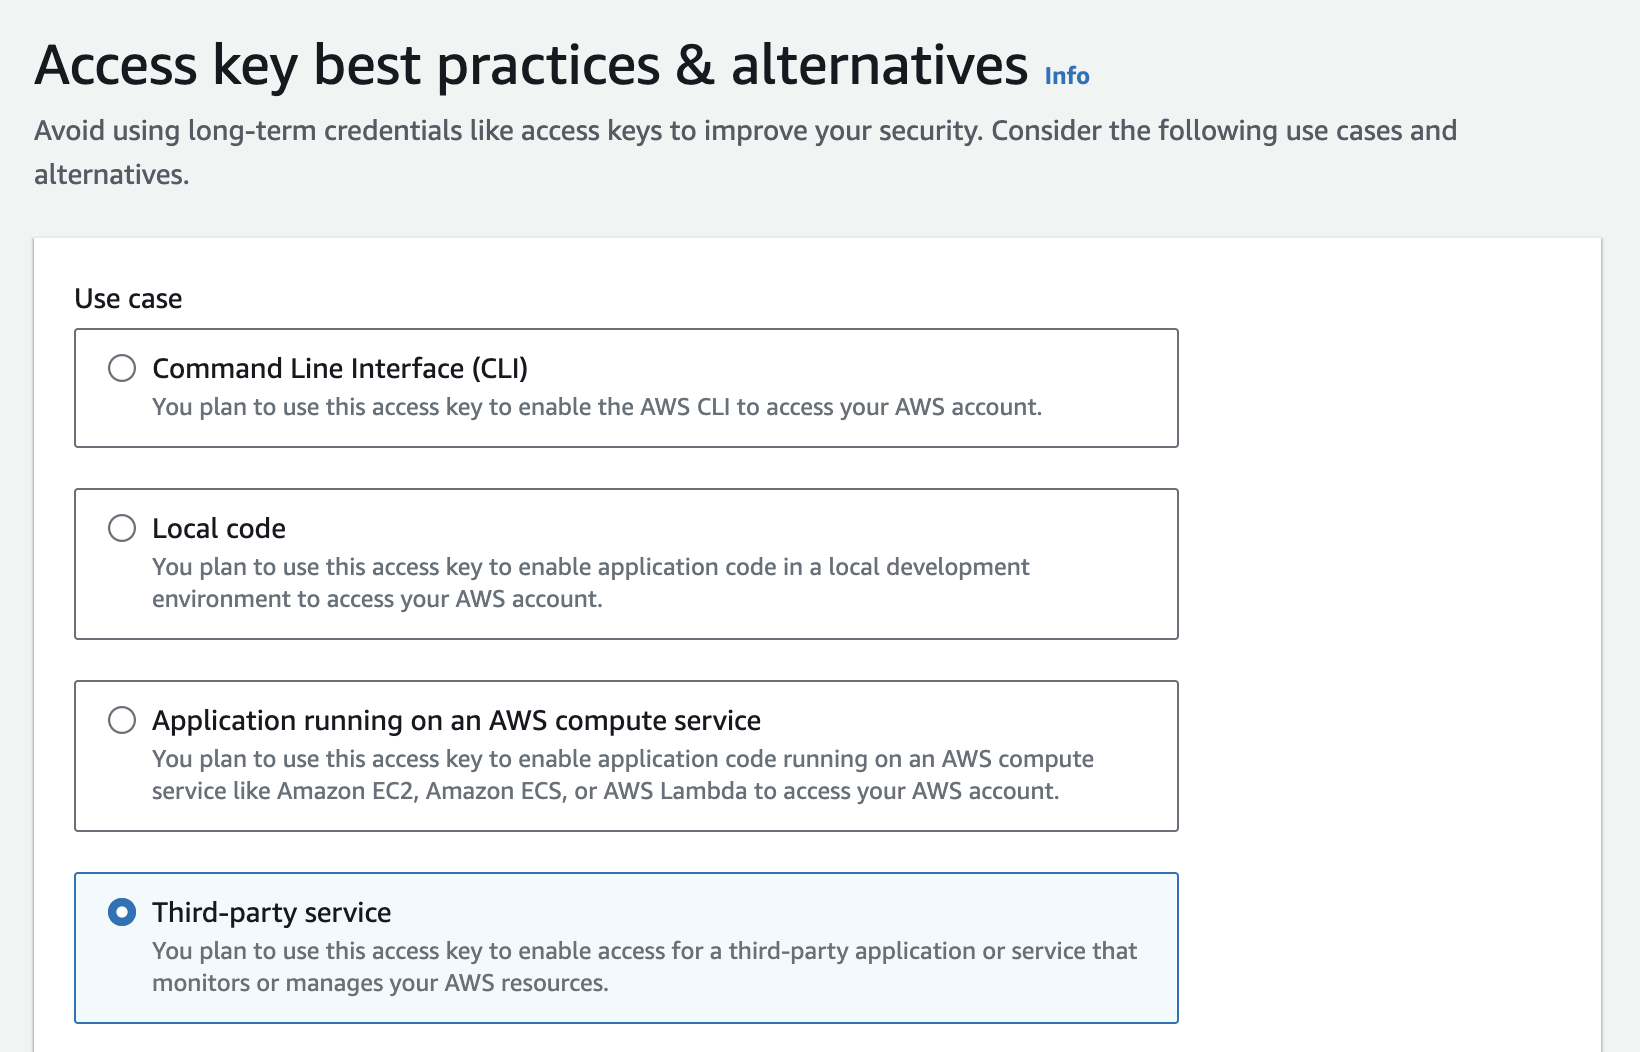
Once created, copy or download the access key.
How to connect
To connect an Amazon SES domain, log in to your Engage account.
Visit Settings -> Integrations.
Click the Connect button for Amazon SES.
Enter the IAM user’s Access Key ID and secret. Select the SES/SNS region. (To get your SES/SNS region, visit the Amazon SES service page on your Amazon console. The region will be shown in the top right corner of the screen). Click the Connect button.
A list of domains in your Amazon SES account will be listed. Select the one you want to use and click the Add domain button.
Was this article helpful?