Banners
updated 2 years ago
In this article:
- Prerequisite: Set up the Engage JS SDK
- How to Create a Banner
- Targeting specific users
- Personalization
- Running multiple Banners
- Best practices
Banners let you display important notifications or alerts on your web app or website. This can be to all your site visitors or a specific List or Segment of your users.
Banners are available to paid accounts only.
Prerequisite: Set up the Engage JS SDK
To display a Banner on your web app or website, you need to have set up the Engage Javascript SDK on your website. If you have done this already, you can skip the step. If not, simply copy the code below and paste it before the closing </body> tag of your webpages.
!function(n){if(!window.Engage){window[n]=window[n]||{},window[n].queue=window[n].queue||[],window.Engage=window.Engage||{};for(var e=["init","identify","addAttribute","track"],i=0;i<e.length;i++)window.Engage[e[i]]=w(e[i]);var d=document.createElement("script");d.src="//d2969mkc0xw38n.cloudfront.net/next/engage.min.js",d.async=!0,document.head.appendChild(d)}function w(e){return function(){window[n].queue.push([e].concat([].slice.call(arguments)))}}}("engage");
Engage.init('api_key')
Replace api_key with your Public key. You can find this on your Engage dashboard via Settings → Account. Remember, that you should only use your Public key. Your Private key should be treated as a password and should only be used in server-side applications where it cannot be publicly exposed.
How to Create a Banner
Visit Campaigns → Banners on your Engage dashboard
Click the Create a Banner button
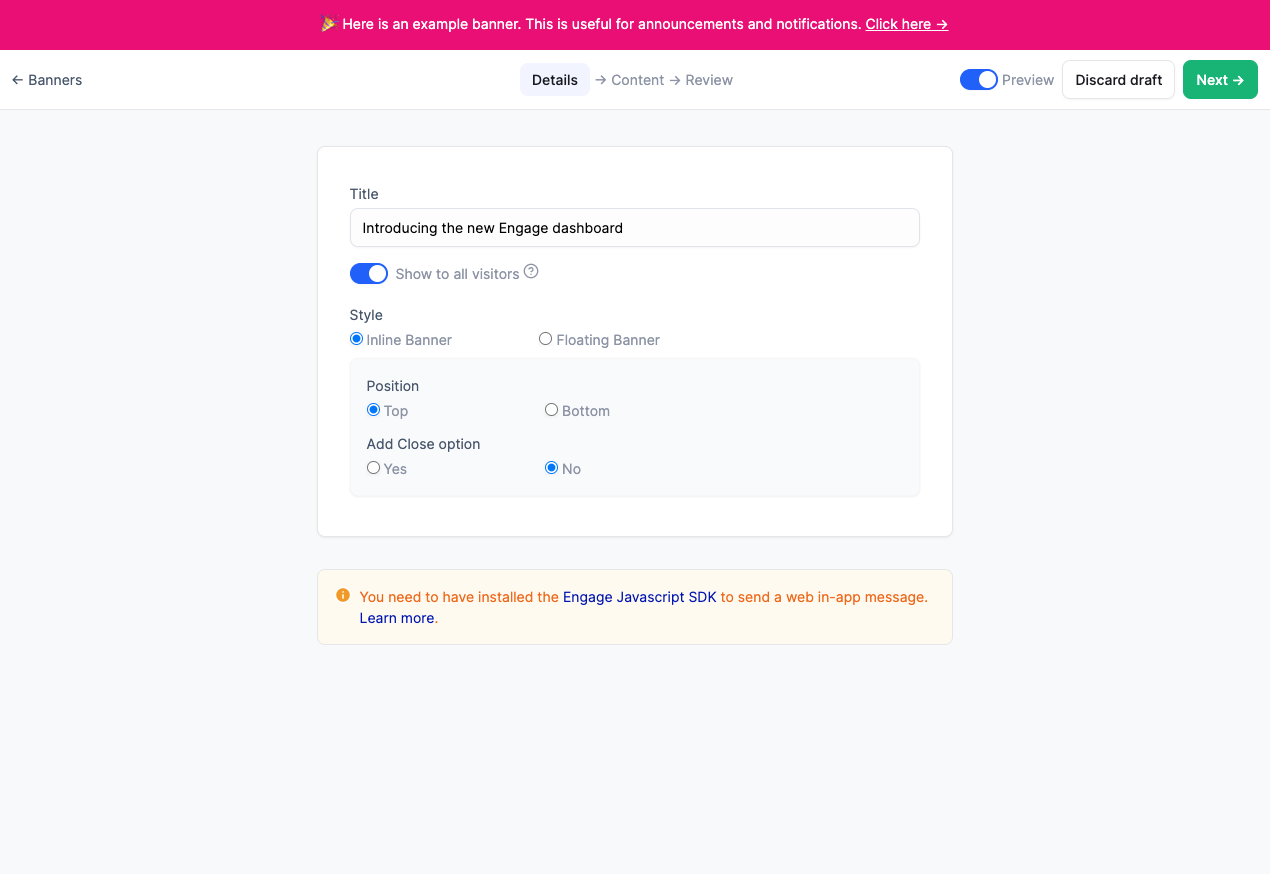
Enter a title for your broadcast.
If you want all your site visitors to see the Banner (e.g., for announcements), check the “Show to all visitors” option. Otherwise, select your target Segments and/or Lists.
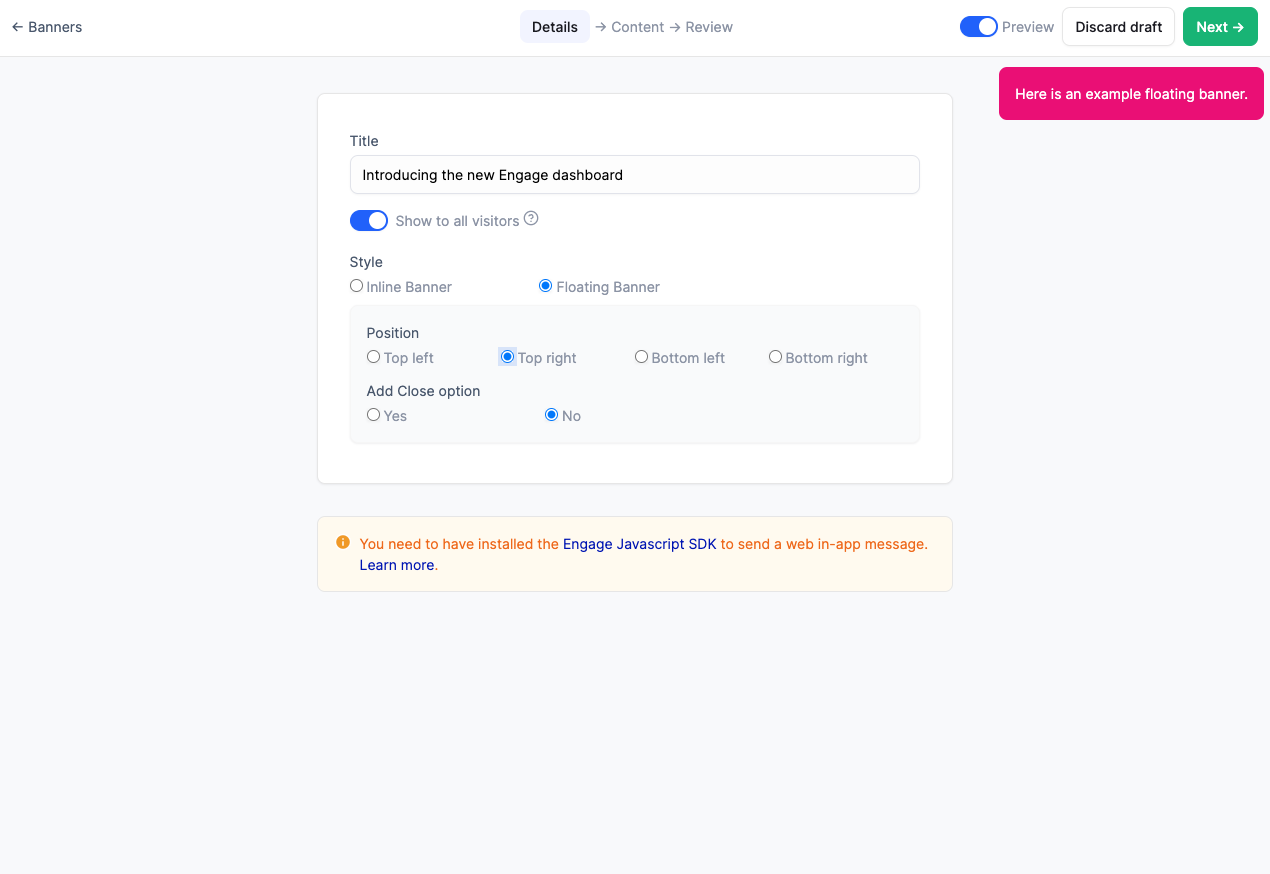
Select your Banner style and position. Inline Banners will display fixed at the top or bottom of the page they show while Floating Banners will show as an overlay at the selected position.
Click the Next button
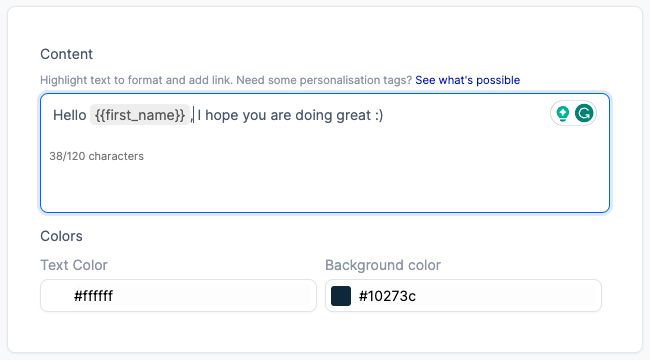
Enter your Banner content (keep it concise) and customize the colors. You can hyperlink parts of the message so that visitors can click and be redirected to another destination.
Click the Next button
Set when you want the Banner to start displaying with the Start showing option. You can automatically stop the Banner at a specific day/time with the Display duration option.
If you want the only display on specific pages of your website, toggle the Display pages option and add the pages you want to show the Banner on.
Targeting specific users
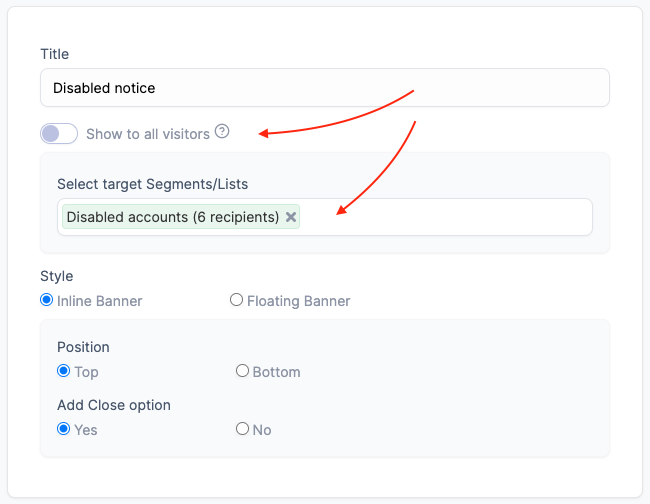
If you want to target only specific users with your Banner, you can uncheck the Show to all visitors option when creating the Banner. You can also edit an existing Banner to do this. You need to have created a Segment or List for the users you want to target so that you can select them here.
The second part of targeting users is to let the JS SDK know who the current site visitor is so they can only get Banners targeted at them. The way you do this is that on logged-in pages, call the identify method of the SDK with the same unique ID their Engage profile was created with.
// ...Integration code here
Engage.init('api_key')
Engage.identify({
  id: 'unique_user_id_here'
})
Learn more about identifying users with the JS SDK.
Personalization
You can personalize the content of your Banner with personalization tags. When creating your content, you can personalize the content with standard attributes like email, first_name, last_name, number or any of the user’s custom attributes.
Remember that you need to be identifying users with the JS SDK to do this. This helps the SDK know if the current visitor is mapped to a profile on your account and if so, it can use the user’s data to personalize the Banner content they see.
We recommend you use fallback values in your personalization tags especially if you will be showing the banner to all visitors and not a custom audience or if the tag is not an attribute all users on your Engage account have. The fallback value is what shows in place of the personalization tag if the tag does not exist.
Here is an example of how to set a fallback value:
Hello {{ first_name | default: 'dear' }}If the user has the first_name attribute, the message will show that. e.g., if the user has first_name as Opeyemi, the message will show this:
Hello OpeyemiIf the user does not have the attribute or is a visitor with no profile on your Engage account, the fallback value is shown instead. e.g.
Hello dearRunning multiple Banners
We recommend you only enable one Banner for display at a time, however, we understand this might not be possible. When multiple Banners are active, they are displayed newest first. The newer one will continue to display till:
The display duration elapses (if set)
It is dismissed by the user (if dismiss is enabled on the Banner)
If you will be displaying multiple Banners, be sure to consider these.
Best practices
Keep your Banner message short. Include "learn more", or "read more" links to longer content.
Set a time frame for your Banner. Unless necessary, do not keep them "running forever"
Unless necessary, stop showing or delete old Banners before activating a new one.
Was this article helpful?