Personalization tags
updated 3 months ago
In this article:
- Personalization tags for user attributes
- Personalization tags in Automation messages
- Setting a fallback text
- Conditional Statements
- Advanced
- Examples
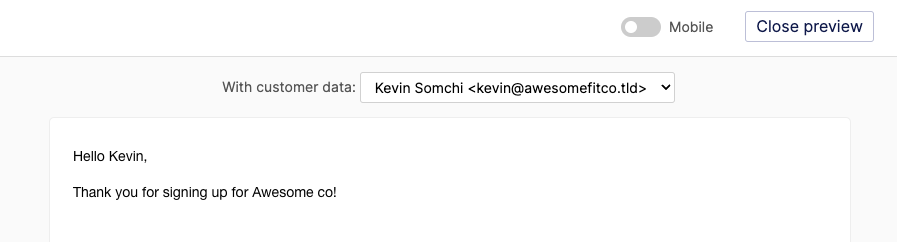
Personalization tags are placeholder texts in the form of {{tag}} that represent user attributes, event attributes, and platform attributes in your Campaigns or Automation. When your Campaign is sent or automation is triggered, Engage replaces these placeholder tags with what they represent. If for example, you create a Campaign or Automation message with this content:
Hi {{first_name}}, welcome onboard!and you send it to a List of 2 customers—one with the first name: Jane, and the other with the first name: Doe, the campaign will be sent to Jane as:
Hi Jane, welcome onboard!And to Doe as:
Hi Doe, welcome onboard!The {{first_name}} tag will be replaced with the actual first name that exists on their profile.
Personalization tags for user attributes
You can use the following tags as placeholders for user attributes when creating a Campaign or Automation message. They are supported in both your subject and message body.
Tags for standard user attributes:
{{uid}}- The user's ID.{{email}}- User’s email, if exists.{{first_name}}- User's first name, if added.{{last_name}}- User's last name, if added.{{number}}- User's phone number (international format), if added.
For custom user attributes, prefix the tag with meta. like this {{meta.attribute}}. If for example, you have a custom attribute named amount_paid, you can use the use the tag {{meta.amount_paid}} for it.
Additional platform attributes:
{{unsubscribe_url}}- Campaign or Automation unsubscribe link. This is only available if enabled for the Campaign or Automation.{{preference_url}}- A link to the user's subscription preference page. This allows the user subscribe or unsubscribe from the kind of communication they want to receive.
Tip: By default, Engage adds an unsubscribe link at the end of unsubscribe-enabled messages. However, if your message already includes the unsubscribe_url tag, Engage will not include the unsubscribe footer.

Personalization tags in Automation messages
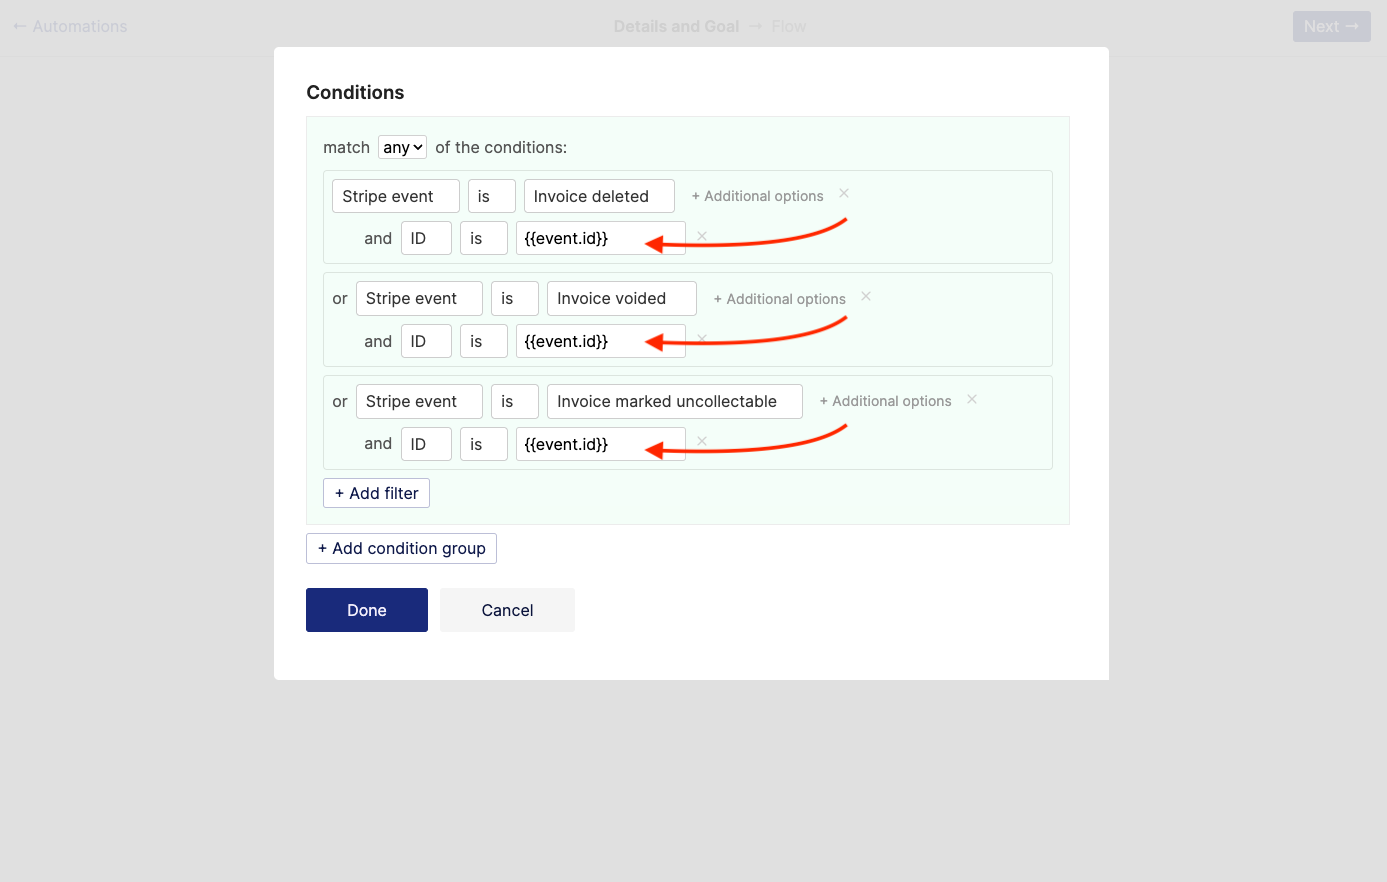
If your automation is triggered by an event (i.e. event trigger), properties of the event will be available as additional personalization tags for your Automation messages. These tags will start with event.. For example, if your Automation is triggered by the Stripe event Charge successful (charge.succeeded), the following additional tags are available:
event.amountevent.receipt_numberevent.receipt_urlevent.status
You can see all the personalization tags available for Stripe event triggers on our Stripe documentation page.
Here is another example. Imagine your application tracks the event: Watched movie with the following properties:
title
duration
genre
If you trigger an automation with that event, the following additional tags are available for use in the automation messages:
event.titleevent.durationevent.genre
Personalization tags in automation are available in the following places:
Goal conditions
Exit conditions
If/else conditions
Message subjects
Message body
Setting a fallback text
A fallback text is a text that is shown when the data to replace your personalization tag is not available. If for example, you used {{first_name}} in your message and the receiving user does not have their first name in their profile, Engage will use the fallback text.
You can set a fallback text for your personalization tag this way: {{tag | default: "I am the fallback text"}}.
For example, consider this as an email subject:
Hello {{first_name | default: "there"}}...If the receiver has their first name set in their profile as Sean, they see this when they get the email:
Hello Sean...If the receiver does not have a first name set, they see this instead:
Hello there...If no fallback text is set, the personalization tag is replaced with nothing so it would be removed.
If no fallback text is set and the receiver does not have a first name set, this:
Hello {{first_name}}...becomes this:
Hello ...Conditional Statements
Besides using personalization tags as data placeholders, you can also use them to customize your message content. You can do this using the {% if attribute %}, {% else % }, and {% endif %} tags.
The {% if attribute %} tag starts the section that will be added if attribute is an attribute that exists or a condition that is true. {% else %} starts the section that will be added if the attribute does not exist or the condition is not true. It is optional and you may not include it. {% endif %} ends the section.
If for example, you have a pro attribute for paying customers and you want to add a "thank you section" for paid subscribers to your welcome email, you can do this:
Welcome to AwesomeCo!

To get started...

{% if meta.pro %}
Thank you for supporting us by being a paid member. If you ever have questions regarding billing, please email us at ~
{% endif %}
Here is another example using {% else %}:
Checklist:

- {% if first_name %}You have updated your name{% else %}You are yet to add your name{% endif %}
- {% if number %}You have updated your number{% else %}You are yet to add your number{% endif %}
This one uses a condition in the if statement:
{% if meta.country == 'eu'  %}
Your request will be routed through our EU data centres.
{% else %}
Your request will be routed through our data centers in the US.
{% endif %}
Advanced
Engage’s personalization tag engine system is built on Shopify’s liquid. This means you can do a lot more. You can create conditional blocks, work with loops, and manipulate tags with filters. Learn more.
Examples
Here is a simple broadcast message:
Hello {{first_name}},

Your monthly summary is now available on your dashboard. Kindly login to your account to view it.

{% if meta.paid_subscriber %}Remember that as a paid subscriber, you have access to the members only Slack account.{% endif %}

Regards
Output if the "Aaron", has paid_subscriber attribute:
Hello Aaron,

Your monthly summary is now available on your dashboard. Kindly log in to your account to view it.

Remember that as a paid subscriber, you have access to the members only Slack account.

Regards
Output if recipient "Wole", does not have paid_subscriber attribute:
Hello Wole,

Your monthly summary is now available on your dashboard. Kindly log in to your account to view it.

Regards
Here is an example automation message triggered by the Stripe event Invoice payment successful (invoice.payment_succeeded). Notice how the liquid filter date is used to format the subscription dates. Also, notice the for loop.
Your subscription has been successfully renewed. Your new billing period is {{event.subscription_start | date: “%a, %b %d” }} to {{event.subscription_end | date: “%a, %b %d, %Y”}}.

Here is a summary:
{% for item in event.invoice_lines %}
{{item.description}} - ${{item.amount}}
{% endfor %}

Total: ${{event.total}}

Kindly click here to download your invoice: {{event.invoice_pdf}}

Regards
Output:
Your subscription has been successfully renewed. Your new billing period is Wed, Aug 4 to Sat, Sep 4, 2021.

Here is a summary:
1 × Engage demo (at $0.90 / every 2 days) - $0.9

Total: $0.9

Kindly click here to download your invoice: https://pay.stripe.com/invoice/acct_1B../invst_K6../pdf

Regards
Was this article helpful?